AutoCAD Basics: Introduction to 3D Modeling
Getting started with AutoCAD can seem like a daunting task, especially when you first step into the world of 3D modeling. However, once you get the hang of the basics, 3D modeling in AutoCAD becomes an incredibly powerful skill that allows you to bring your design ideas to life in a way that 2D drawings simply cannot match. Whether you are an architect, engineer, product designer, or just someone interested in digital creation, understanding the fundamentals of AutoCAD 3D modeling will open up exciting new possibilities for your projects.
AutoCAD is widely renowned as a leading computer-aided design (CAD) software, well-loved for its precision, versatility, and rich feature set. While many users start by creating 2D plans, AutoCAD also offers robust tools for 3D modeling. This means you can transition from flat, two-dimensional sketches to full, realistic three-dimensional objects that show depth, volume, and shape. In this article, we will explore the essential concepts you need to know to begin your journey in AutoCAD 3D modeling, including interface overview, basic commands, and how to build your first 3D model. By the time you finish reading, you’ll feel more confident navigating AutoCAD’s 3D environment and using key features to create compelling designs.
Understanding the AutoCAD 3D Interface
Before diving into commands and creating objects, it’s important to familiarize yourself with the AutoCAD 3D interface. The software’s layout is designed with a variety of toolbars, menus, and panels, many of which are different or expanded when you switch from 2D drafting to 3D modeling. Grasping how these areas work will streamline your workflow and make learning easier.
At the top of the screen, you’ll find the ribbon, which organizes AutoCAD’s functions into tabs and panels. When working with 3D modeling, the “3D Modeling” workspace is your best friend. You can switch to this workspace by clicking on the gear icon at the bottom-right corner and selecting “3D Modeling” from the list. This workspace adapts the user interface to show the most relevant 3D tools, such as solid objects creation, surface editing, and viewing tools.
On the right side, the ViewCube helps you orient your drawing by showing the model from standard views like Top, Front, Left, and Isometric. You can click or drag the cube to rotate the model, making it easy to inspect from different angles. Another useful tool is the navigation bar, also placed near the ViewCube, which offers zoom, pan, and orbit controls for smooth model manipulation.
The drawing area itself is your canvas where you create and modify 3D models. In 3D space, you’ll notice that instead of just X and Y axes (typical in 2D), you now also work with the Z axis, which represents height or depth, giving your design volume.
Basic 3D Modeling Concepts in AutoCAD
3D modeling in AutoCAD revolves around the creation and manipulation of three main types of objects: solids, surfaces, and meshes. Understanding the differences between these object types will help you choose the right approach for your project.
- Solids: These are fully enclosed 3D objects that represent volume. Solids are perfect for mechanical parts or architectural elements because they can be reliably measured and fabricated.
- Surfaces: Surfaces are objects that only have exterior faces without volume. They are useful for creating complex shapes that don’t necessarily need to be thick or solid, such as car bodies or shells.
- Meshes: Meshes are made of connected vertices, edges, and faces, forming a wireframe structure. They are often used in animation, rendering, and concepts where complex organic shapes are required.
For beginners, starting with solid modeling is generally easier because these objects behave predictably and can be modified using clear commands like extrude, revolve, and subtract.
Key 3D Modeling Commands
Building your first 3D model in AutoCAD involves using several fundamental commands. Here is a list of some of the essential commands that form the backbone of many 3D modeling workflows:
| Command | Description | Usage Example |
|---|---|---|
| EXTRUDE | Converts a 2D shape into a 3D solid by extending it along the Z-axis. | Create a rectangle and extrude it to form a box or wall. |
| REVOLVE | Creates a 3D solid or surface by rotating a 2D profile around an axis. | Design pipes or rounded objects by revolving a half-profile. |
| UNION | Merges two or more 3D solids into one object. | Combine a cylinder and a box to form a single model. |
| SUBTRACT | Removes one 3D solid from another, creating holes or cutouts. | Cut a smaller cylinder out of a larger box. |
| INTERSECT | Creates a 3D solid from the overlapping volume of two or more solids. | Find the common area between two shapes. |
| SLICE | Divides a 3D solid into parts along a plane. | Cut a model in half to expose interior details. |
By mastering these commands through practice, you will build confidence in constructing more complex 3D models.
The Workflow: From 2D Drawings to 3D Models
One of AutoCAD’s great strengths is the seamless transition from 2D drafting to 3D modeling. Many designers start with precise 2D sketches before turning them into 3D objects. Here’s a step-by-step approach that can help you make the most of AutoCAD’s tools:
- Create or import a 2D drawing: Start by drawing shapes like lines, circles, arcs, and polylines on the XY plane, which will serve as the foundation for your 3D model.
- Ensure 2D shapes are closed: For commands like EXTRUDE to work properly, your 2D shapes should form a closed loop without gaps.
- Choose a 3D command: Use EXTRUDE to give thickness to flat shapes or REVOLVE to turn profiles into rotational solids.
- Modify the 3D object: Use UNION, SUBTRACT, and INTERSECT to combine or refine shapes and achieve your desired form.
- Check your model from different views: Use the ViewCube and Orbit to inspect the model and ensure everything looks right.
- Apply materials and lighting (optional): For presentations or renderings, you can assign colors, textures, and lighting effects to your 3D objects.
This workflow encourages accuracy and creativity, letting you build precise models that can translate directly into physical prototypes or digital visualizations.
Tips for Efficient 3D Modeling in AutoCAD
While AutoCAD has a bit of a learning curve, some practical tips can help you develop efficient habits and save time:
- Use Layers Wisely: Organize your model by placing objects on different layers, especially when working on complex designs. This allows easy control over visibility and editing.
- Leverage Keyboard Shortcuts: Learning shortcuts for common commands speeds up your workflow. For example, typing “EX” for EXTRUDE or “SU” for SUBTRACT can save precious minutes.
- Keep the UCS Updated: The User Coordinate System (UCS) defines your drawing plane. Changing the UCS to align with surfaces or parts of your model simplifies drawing and editing.
- Regularly Save and Use Versions: 3D modeling can be complex. Save incrementally with version numbers to avoid losing work or getting stuck with mistakes.
- Experiment with View Styles: Switch between Wireframe, Shaded, and Realistic views to better understand your model’s geometry and troubleshoot any issues.
These habits help you maintain control over your designs and improve your learning curve.
Understanding Solid Editing and Modifications
Once you have created basic 3D solids, the next step is learning how to edit and refine them. AutoCAD provides powerful tools to manipulate solids without starting over. Here are some important editing techniques:
- Fillet and Chamfer Edges: Smooth or bevel edges of your 3D solids to achieve more realistic or functional shapes.
- Presspull: A flexible command that lets you extrude or cut on selected faces by simply dragging the mouse.
- Shell: Hollow out a solid by specifying a uniform wall thickness, useful in designing objects that require cavities.
- 3D Move and Rotate: Position and orient your solids precisely by moving or rotating them along any of the three axes.
These editing features make AutoCAD 3D modeling a dynamic and adaptable process, enabling continuous iteration on your designs.
The Role of Rendering and Visualization
A well-modeled object is just part of a successful project. To impress clients or communicate ideas clearly, visualization is key. AutoCAD’s rendering capabilities transform your 3D models into realistic images by applying materials, lighting, and shadows.
You can choose from a variety of preset materials such as metal, glass, wood, or plastic, and tweak their properties like reflectivity and transparency. Placement of light sources dramatically affects the mood and clarity of your model. Additionally, rendering allows you to generate high-quality images ready for presentations, portfolios, or further processing in other software.
Understanding these visualization tools is especially valuable if you aim to work in architecture, product design, or any field where client communication is crucial.
Common Challenges and How to Overcome Them
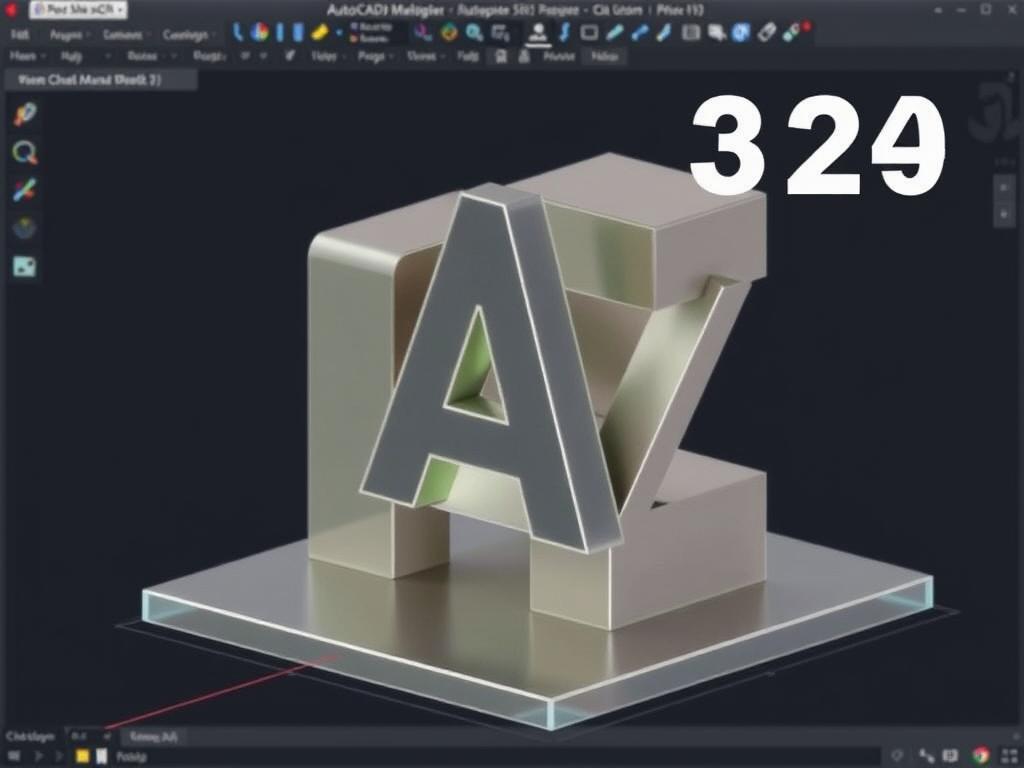
Diving into AutoCAD 3D modeling is exciting but can come with some hurdles. Here are a few typical challenges beginners face, along with tips on tackling them:
| Challenge | Cause | Solution |
|---|---|---|
| Cannot extrude 2D shapes | Shapes are not closed or fully connected. | Use the PEDIT command or manually close gaps before extruding. |
| 3D objects disappear or become invisible | View settings or layers turned off; UCS misaligned. | Check layer visibility and reset UCS to default. |
| Difficulty navigating 3D space | Unfamiliarity with ViewCube or orbit tools. | Practice using navigation tools and learn keyboard shortcuts for orbiting. |
| Slow performance with complex models | Hardware limitations or excessive details. | Use proxies, simplify geometry, or upgrade system specs. |
Remember that patience and continuous practice are key to mastering AutoCAD’s 3D environment. Don’t hesitate to explore tutorials, online forums, and communities where users share tips and solutions.
Exploring Advanced Tools as You Progress
Once you feel comfortable with the basics, AutoCAD offers an array of advanced features that can take your 3D modeling skills to the next level. Features you might explore include:
- Parametric Modeling: Use constraints to control dimensions and relationships between objects, enabling easy updates to your design.
- 3D Sketching: Draw directly in 3D space without switching back and forth between 2D planes.
- Dynamic Blocks: Create blocks that can be modified in real-time using grips and parameters.
- Interoperability: Export and import models in formats compatible with other software for further refinement or analysis.
Engaging with these advanced techniques requires commitment but pays off by expanding your modeling versatility and efficiency.
Resources to Help You Learn 3D Modeling in AutoCAD
To complement hands-on practice, a solid resource base is essential. Here are several options to help you build expertise:
- AutoCAD’s Official Tutorials: Autodesk offers step-by-step guidance for learning both basic and advanced techniques.
- YouTube Channels: Many expert designers share free tutorials and tips for beginners.
- Online Courses: Platforms like Udemy or LinkedIn Learning have comprehensive courses tailored for different skill levels.
- User Communities and Forums: AutoCAD forums and Reddit’s CAD communities are great for problem-solving and exchanging ideas.
Leveraging these resources ensures you stay motivated, supported, and updated on best practices.
Conclusion
Exploring AutoCAD basics and the introduction to 3D modeling marks an exciting step toward realizing your design ideas in a dynamic and realistic manner. While the transition from 2D to 3D may initially appear intimidating, thoughtful understanding of the interface, mastery of essential commands, and consistent practice will build your confidence. The ability to create, edit, and visualize 3D solids in AutoCAD unlocks a powerful creative process that serves various industries and applications. As you continue to develop your skills, remember to embrace patience, use resources wisely, and experiment with both basic and advanced tools. AutoCAD 3D modeling is not just about drawing shapes digitally — it’s about bringing your vision into a form that is tangible, functional, and visually compelling. With the foundations laid out here, you are well on your way to becoming proficient in this versatile and rewarding design technique.

