Blender for Beginners: Complete 3D Modeling Guide
If you’ve ever been fascinated by the mesmerizing worlds of animated movies, stunning video game environments, or jaw-dropping visual effects, then you know how powerful 3D modeling can be. Blender is one of the most popular and versatile tools for creating 3D models, and luckily, it’s completely free and open-source. But if you’re just starting, the interface and sheer number of features might feel overwhelming. This complete 3D modeling guide on Blender for beginners will walk you through everything step by step – from the basics to creating your very first stunning 3D model.
Think of Blender as your digital art studio, where you mold shapes, light scenes, animate characters, and even render photorealistic images. This guide is designed with absolute beginners in mind — no jargon, no confusing shortcuts, just easy explanations and practical tips to help you grasp Blender’s core concepts. Whether you want to design models for printing, animation, or games, this Blender tutorial will set you up for success.
Why Blender is the Best Choice for Beginners
Before diving into the hands-on part, it’s important to understand why Blender stands out among many 3D modeling tools available today. Many commercial programs require expensive licenses or subscriptions, but Blender is completely free, allowing you to experiment and learn without any barriers. More than that, Blender is constantly updated by a passionate community, which means you get access to cutting-edge features and countless tutorials.
Another great advantage of Blender for beginners is its all-in-one platform approach. Most beginner-friendly 3D modeling software only offers a few focused tools, but Blender supports the entire creative pipeline. From modeling and sculpting to texturing, animation, physics simulations, and rendering, everything is contained in a single program. This means that as your skills grow, you won’t need to switch software to explore new 3D disciplines.
Understanding Blender’s Interface
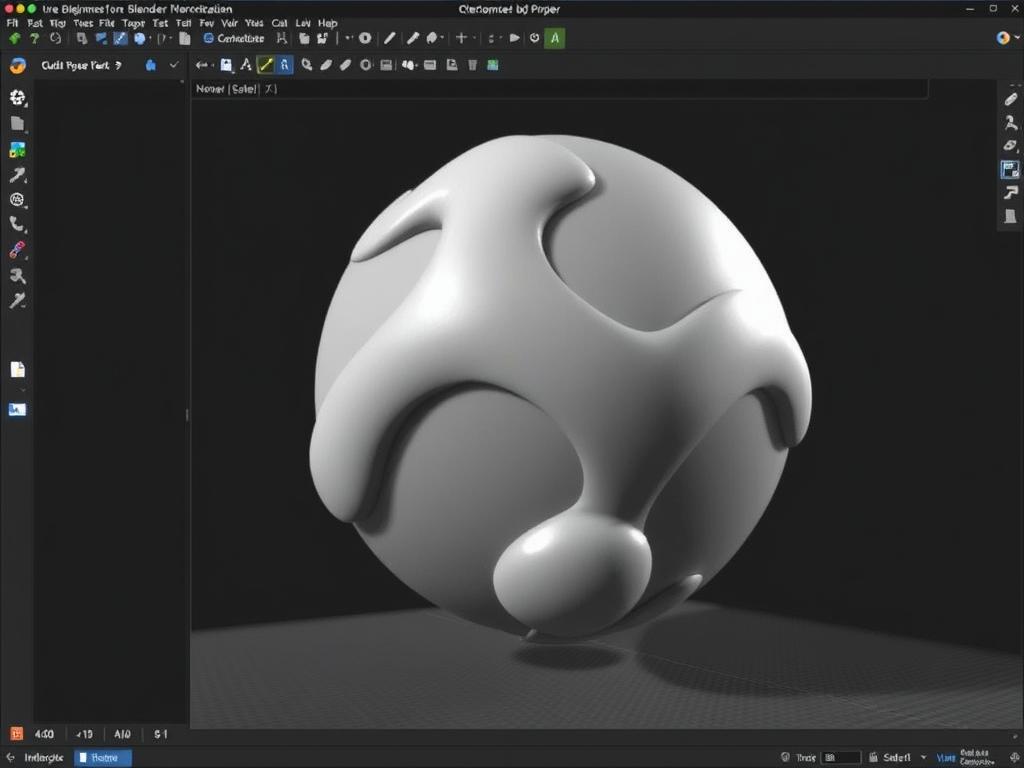
The first step in your Blender journey is to get comfortable with the interface. Blender’s layout can appear complex with multiple panels, toolbars, and menus, but it’s actually quite user-friendly once you know where to look.
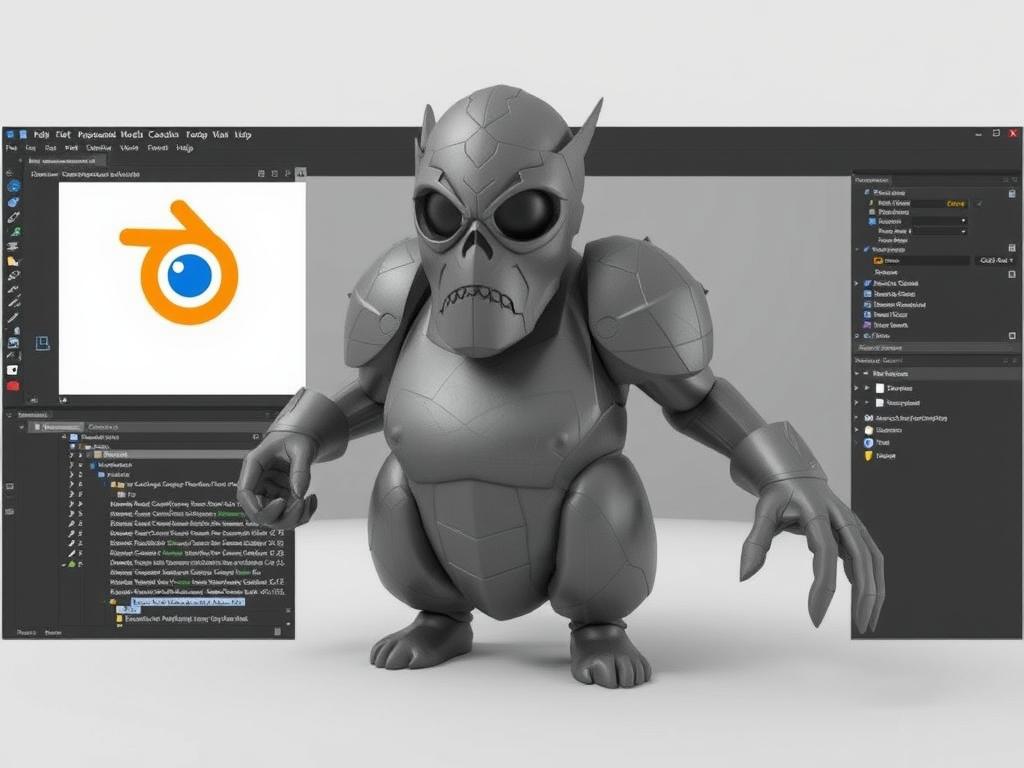
Main Areas of Blender Interface
Let’s break down the interface into its main components so you feel oriented:
| Interface Area | Description | Purpose |
|---|---|---|
| 3D Viewport | The central window where you interact with your 3D objects. | Modeling, sculpting, and scene arrangement happen here. |
| Outliner | A list-like panel showing all objects and elements in your scene. | Quickly select, organize, and manage your objects. |
| Properties Editor | Panel containing detailed settings for objects, materials, and scene. | Adjust object properties, textures, modifiers, and rendering settings. |
| Timeline | A horizontal bar below the 3D viewport showing frames in animation. | Use it to create animations and control playback. |
| Toolbar | Vertical panel with the most used modeling and editing tools. | Quick access to transform tools, selection modes, and modeling actions. |
Simple Navigation Controls
Knowing how to navigate your scene confidently is key:
- Orbit: Middle mouse button drag to rotate around the scene.
- Pan: Shift + middle mouse button drag to move the view sideways or up/down.
- Zoom: Scroll wheel to zoom in or out smoothly.
- Select: Left-click on objects to select them.
Once you get comfortable with these controls, you’ll feel much more in command when building your models.
Getting Started: Your First 3D Model
Let’s jump into practical steps by creating a simple 3D object, like a coffee cup. This project covers the fundamentals of modeling while keeping it fun and achievable.
Step 1: Setting Up Your Workspace
After launching Blender, start with the default cube visible in the 3D viewport. This cube will be the base of your coffee cup.
– Press the “N” key to open the sidebar and keep an eye on object dimensions.
– Switch to “Edit Mode” by pressing Tab. Edit Mode allows you to manipulate the individual vertices, edges, and faces of the cube.
Step 2: Shaping the Cup
Here’s a simple sequence to carve out your coffee cup from the cube:
- Select the top face of the cube.
- Press “I” (Inset Faces) to create a smaller face inside the selected one. This will form the cup’s opening.
- With the inset face still selected, press “E” (Extrude) and drag downwards to hollow the cup.
- Switch to edge select mode (press 2 or click the edge icon) and select the bottom edges, press “Ctrl + B” to bevel for smoother rounded edges.
Step 3: Adding the Handle
The handle can be created by using a simple curved shape:
- Shift + A → Mesh → Torus (a donut shape).
- Scale down the torus, position it to the side of the cup.
- Go into edit mode for the torus and delete several faces to make it look like a handle.
- Move and rotate the handle so it fits well with the cup.
- Join the cup and handle (select both, press Ctrl + J).
Step 4: Smoothing and Finishing Touches
To make your cup look more natural:
- Right-click on the model and select “Shade Smooth” to soften edges visually.
- Add a “Subdivision Surface” modifier to smooth the shapes further (found in the modifiers tab).
- Adjust the subdivision level for the perfect balance between smoothness and performance.
Essential Blender Tools for 3D Modeling
While modeling your coffee cup gives you a practical start, understanding Blender’s powerful tools will empower you to create more complex models.
Modeling Modes
Blender uses different modes to interact with objects. Here are the key ones for beginners:
- Object Mode: For moving, scaling, and rotating whole objects.
- Edit Mode: For detailed changes to the object’s geometry.
- Sculpt Mode: For shaping objects like digital clay, great for organic models.
Switch between these modes with the Tab key or via the mode dropdown on the top-left of the 3D viewport.
Basic Transform Tools
Foundation skills include manipulating objects with three powerful tools:
| Tool | Shortcut | Function |
|---|---|---|
| Grab/Move | G | Move selected objects or vertices along any axis. |
| Rotate | R | Rotate the selection around the cursor. |
| Scale | S | Resize the selection proportionally. |
Modifiers: Non-Destructive Modeling
Modifiers are automated operations that affect the geometry without permanently changing it until you apply them. Beginners should get comfortable with these three core modifiers:
- Subdivision Surface: Smooths and subdivides meshes for a higher quality look.
- Mirror: Creates symmetrical copies useful for characters and objects.
- Boolean: Combines or subtracts objects to create complex shapes.
Learning how to stack and tweak these modifiers opens up endless possibilities.
Texturing and Materials Basics
No 3D model is complete without color, texture, and material properties that make it look real or stylized. Blender makes the process straightforward.
Assigning a Basic Material
To add color to your coffee cup:
- Click on the Properties Editor → Material tab.
- Press “New” to create a material and name it.
- Pick a base color (for example, a warm brown for the cup).
- Adjust roughness and metallic sliders to control how shiny or matte the surface appears.
Using Image Textures
If you want to add more detail:
- Go to the Shader Editor (switch your workspace to Shader Editor).
- Add an “Image Texture” node and load an image file like a wood grain or ceramic pattern.
- Connect the texture node to the material’s Base Color input.
- UV unwrap your model if necessary to map the texture correctly.
Rendering Your 3D Model
Once satisfied with your model and textures, it’s time to make a final image or animation.
Set Up Lighting and Camera
Lighting influences the mood and realism of your render:
- Add light sources such as Point, Sun, or Area lights in your scene.
- Position a camera to frame your cup nicely (shortcut “Numpad 0” to look through the camera).
- Adjust light intensity and color to bring out details and make your object stand out.
Choose Render Engine
Blender has powerful render engines:
| Render Engine | Description | When to Use |
|---|---|---|
| Cycles | Physically-based path tracer for photorealistic renders. | Use for realistic lighting and reflections. |
| Eevee | Real-time renderer optimized for speed. | Great for fast previews and stylized art. |
Rendering the Final Image
After setting up:
- Press F12 or click “Render Image” to start rendering.
- Save the rendered image with “Image” → “Save As” in the render window.
Helpful Resources and Tips for Beginners
Learning Blender is a journey, and you don’t have to go it alone. There are tons of resources and tips to speed up your progress:
- Official Blender Manual: Comprehensive and regularly updated.
- YouTube Tutorials: Channels like Blender Guru provide beginner-friendly series.
- Community Forums: BlenderArtists and Blender Stack Exchange are great for troubleshooting.
- Practice: Start with simple projects, gradually adding complexity.
- Shortcuts: Learn essential keyboard shortcuts; they save time and make modeling fluid.
- Save Often: Blender can occasionally crash, so frequent saving avoids losing work.
Developing confidence with Blender comes with patience and playfulness. Remember, every expert was once a beginner!
Common Beginner Pitfalls and How to Avoid Them
Getting stuck is normal but here are some things to look out for:
- Overcomplicating Early Models: Start simple; complex projects can overwhelm new users.
- Not Using Reference Images: Use photos or sketches to guide your modeling process.
- Neglecting the Scale: Make sure objects are sized realistically to help with scenes and animations.
- Ignoring Topology: Maintain clean geometry to avoid shading and animation issues later.
Exploring Beyond Modeling: Animation and Beyond
Once you feel confident with modeling, Blender can take you further. Animation, rigging, particle systems, and even video editing are built right in. Making your coffee cup spin on a table, or animating an entire short film is just a step away.
Simple Animation Basics
– Insert keyframes on your object’s position or rotation by pressing “I”.
– Use the Timeline to scrub through and control movement.
– Experiment with Blender’s Graph Editor to smooth transitions.
These basics unlock countless creative possibilities!
Additional Blender Capabilities
- Physics simulations like cloth, fluid, and smoke.
- Sculpting detailed organic forms.
- Text and typography design.
- Video editing and compositing.
Blender truly grows with your imagination.
Conclusion
Starting your journey with Blender for beginners might seem intimidating at first, but step by step, you’ll discover a rich and vibrant world of 3D modeling tools that can transform your creative ideas into reality. This complete 3D modeling guide has laid the foundation by helping you understand Blender’s interface, navigate basic modeling, apply materials, and render your creations beautifully. Remember, Blender is not just software—it’s a supportive global community and a powerful creative studio right at your fingertips, accessible to anyone willing to learn. Take your time to experiment, practice regularly, and lean on available resources; with persistence, you’ll master Blender and open doors to endless artistic expression and professional opportunities in the fascinating realm of 3D design.

